Loading... 65 view(s)
The team at Jenway have described a method to determine calcium level in milk samples using their PFP7 Flame Photometer. Calcium is usually present at about 120mg per 100ml milk, or 0.11%, but this varies with the type.
The method and equipment required are summarized below to test milk samples for calcium content.
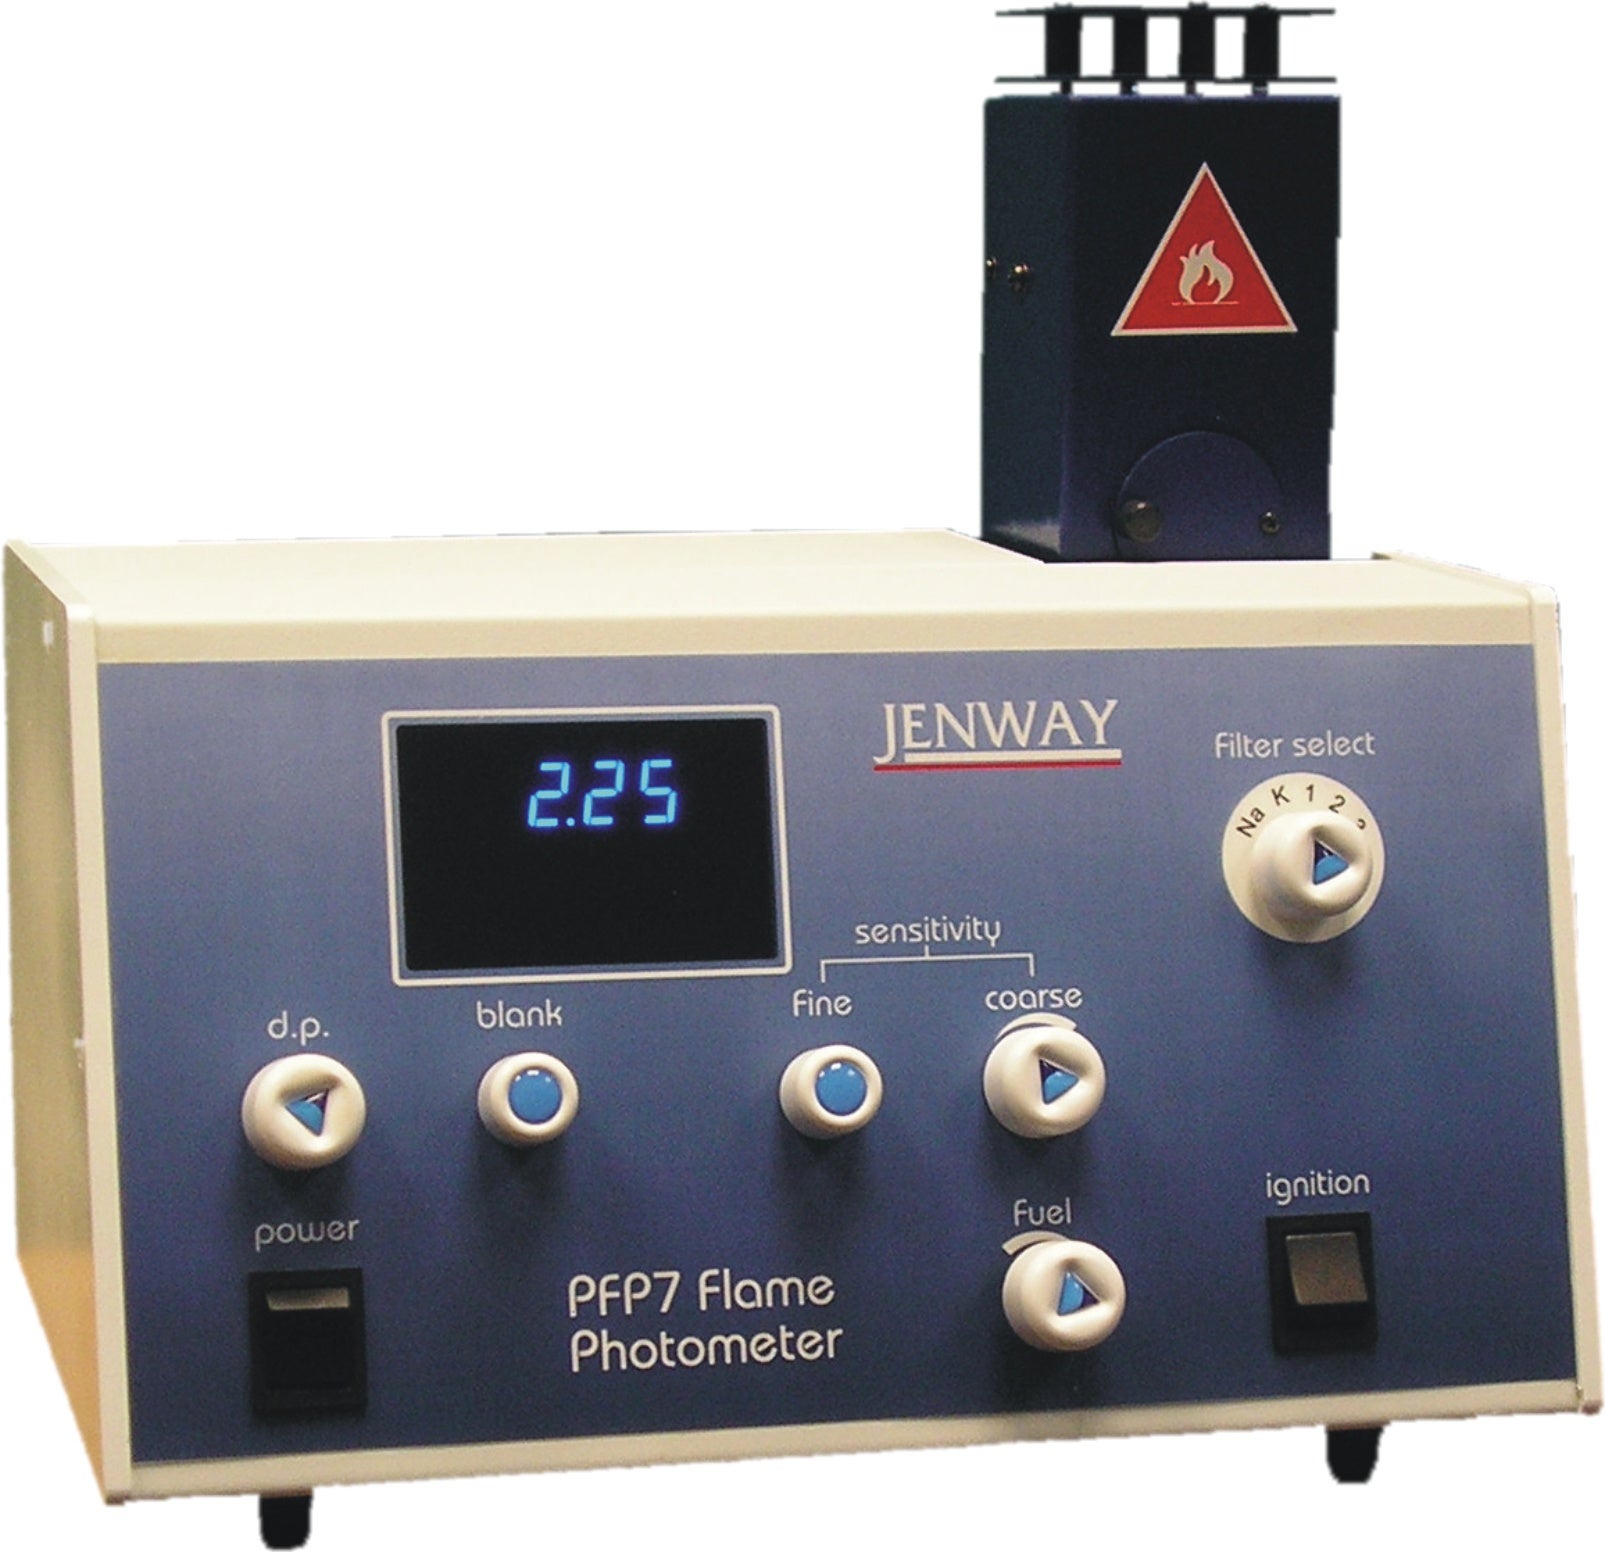
[caption id="attachment_10449" align="aligncenter" width="422"] The Jenway PFP7 Flame Photometer is suitable for a wide range of analyses, including determination of calcium in milk[/caption]
Equipment required;
Jenway PFP7 Flame Photometer Analytical balance (with 4 decimal places) Silica Crucible Furnace (must heat to 525°C) Volumetric Flasks - 100ml x5 for standards and prep, plus 2x additional 100ml per sample to be tested, 1000ml x1 Filter Paper Filtration funnel Conical flask - 1000ml Pipette and tips to measure 0.2ml to 2ml Beakers to decant reagents Dropper pipettes 50ml measuring cylinder 50ml volumetric pipette and pipette controller Weighing boats Spatula Labels and pens Suitable PPE - goggles, gloves and lab coatReagents required;
Concentrated Hydrochloric Acid 10% Lanthanum Chloride solution Deionised Water Calcium CarbonateMethod;
Reagent preparation;- Prepare a dilute hydrochloric acid by adding 1 part concentrated acid to 4 parts deionised water in a beaker (NB take great care and always add the acid to water, not water to acid)
- Label the beaker clearly as diluted Hydrochloric Acid
- Pipette 2.5ml of diluted hydrochloric acid into a 100ml volumetric flask
- Pipette 2.0ml of 10% Lanthanum Chloride solution into the same flask
- Make up to the 100ml mark with Deionised Water
- Clearly label the flask as Blank Solution
- Weigh out 1.249g Calcium Carbonate into a 1000ml volumetric flask
- Add approximately 50ml Deionised Water
- Add concentrated Hydrochloric Acid dropwise using the dropper pipette, swirling the flask between additions, until the Calcium Carbonate has dissolved (should take around 10ml)
- Make up the solution to the 1000ml mark with Deionised Water
- Label the flask as 500ppm Calcium Stock Solution
- Prepare standards of lower concentrations in 100ml volumetric flasks, by taking the stated volume of the stock solution and diluting with Deionised Water to the 100ml mark. Remember to label each flask as you go;
- 2.5 ppm standard = 0.5ml of 500 ppm stock, remainder Deionised Water
- 5.0 ppm standard = 1.0ml of 500ppm stock
- 7.5 ppm standard = 1.5ml of 500 ppm stock
- 10.0 ppm standard = 2.0ml of 500 ppm stock
- Weigh 4g of milk into the dry silica crucible
- Ash the sample in a furnace at 525°C
- When cool, add 5ml of the dilute Hydrochloric Acid solution using the pipette to dissolve it
- Transfer the dissolved ash solution into a 100ml volumetric flask, and make up to the 100ml mark with Deionised Water, remembering to invert the flask for thorough mixing
- Fold the filter paper and place into the filtration funnel, over the conical flask. Filter the solution to remove any remaining precipitates
- Using the volumetric pipette, transfer 50ml of the filtrate into a 100ml volumetric flask
- Add 2.0ml of 10% Lanthanum Chloride solution, then make up to the 100ml mark with Deionised Water
- Label clearly with the sample name or reference. Repeat for each sample.
- Ensure fuel, air and drain are all connected correctly, and the instrument is set to Calcium. Start the photometer as per the user manual instructions.
- Aspirate the blank solution and set the zero
- Aspirate the 10ppm calcium standard solution and set the full scale
- Reset the zero
- Aspirate the intermediate standards one by one, noting the readings down to prepare your calibration curve
- Aspirate the samples one by one and note the readings
- Plot your calibration curve using the standard solution results, then evaluate the sample results using the curve - the result is given in ppm of calcium in milk
- To convert to % calcium, multiply the ppm reading by 0.025 to give the % calcium in milk


